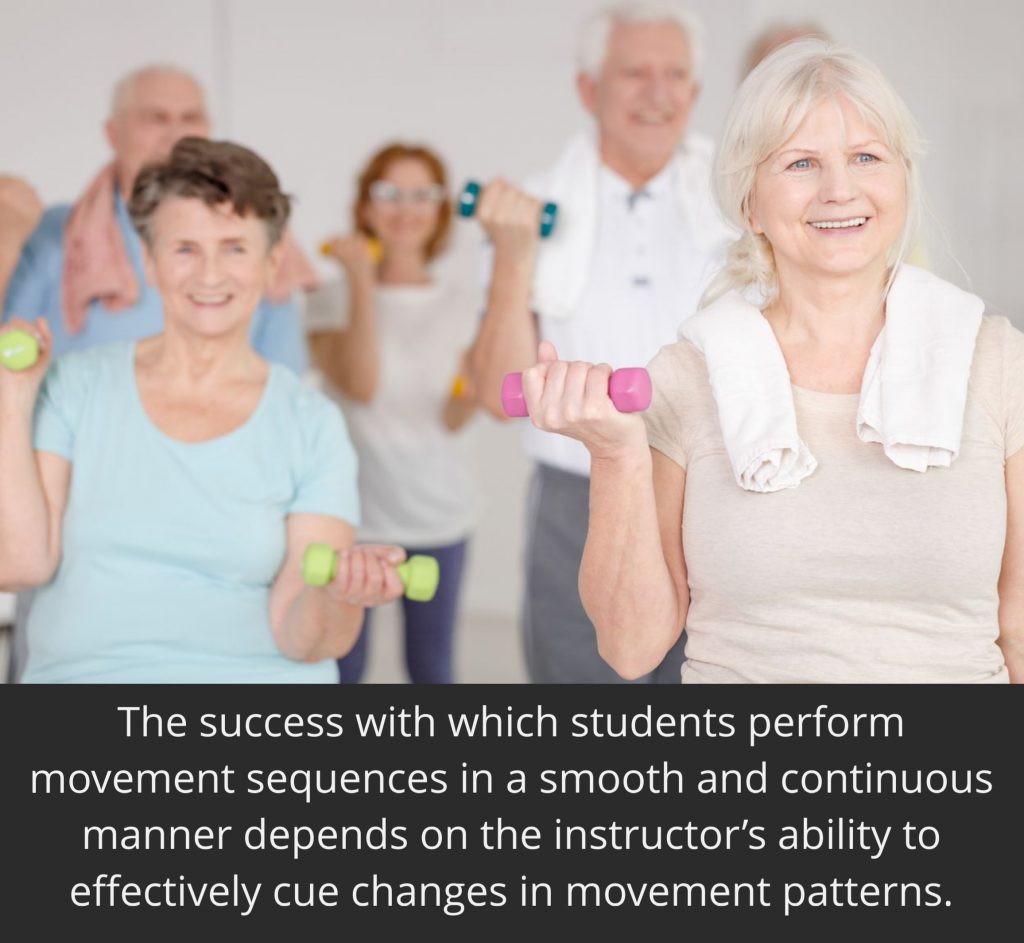
Cues are words or phrases used to deliver your instructions. Cuing can be both verbal and non-verbal. Since many participants may struggle with hearing and/or visual impairments, exceptional cuing will require the instructor to use both clear, concise language and a strong physical demonstration. Participants tend to “do as you do.” Instructors must highlight exercise demonstration with impeccable posture to enhance participant adherence and understanding.
There are three basic learning styles, as they apply to group exercise instruction:
- Auditory: learning through hearing
- Visual: learning through seeing
- Kinesthetic: learning through doing
While some people may lean towards one specific style of learning, most people learn best applying concepts from all three styles. Below are examples of three types of cues to use to reach each type of learner.
Verbal, visual, and kinesthetic cues
Verbal cues:
Hover over each cue description box for examples.
Tap each cue description box for examples.
Keywords
Examples:
Numerical
Examples:
Anticipatory
Examples:
Technical
Examples:
Descriptive
Examples:
Tone
Examples:
Visual cues:
Instead of flip boxes for visual cue examples, watch the video examples.
Hand gestures
What is seen by the audience:
Watch me
Hold/ stay/ stay in place
From the top/ Move forward/ Move backward
Single/ Double/ Left/ Right
Shift to face this direction/ March in place
Mirroring
What is seen by the audience:
Face your audience
Teach to their right and their left
Posture
What is seen by the audience:
Set the best example with your own posture
Execution
What is seen by the audience:
Be precise with exercise or movement
Body language
What is seen by the audience:
Demonstrate confidence; smile!
Kinesthetic cues:
Hover over the cue description box for examples.
Tap each cue description box for examples.
Physical practice and repetition
Tivity Health does not recommend physical touching or placing students into a position
Examples:
Teach mirror image
Effective communication is more than verbal and visual cues. How you interact and teach to your class is also important. SilverSneakers recommends instructors teach from a standing position, facing class participants. This requires the use of mirror image teaching.
Teaching mirror image means that the instructor’s right is the participants’ left. Mirroring is a skill that improves with practice. It may be helpful to post signs in the back of the class room (instructor facing) as a quick reminder of what is the participants’ right and the participants’ left.
There are many benefits of teaching your class mirror image. It increases engagement and interaction. Participants can more easily hear and understand the cues because the instructor is projecting their voice toward the audience rather than into a mirror with their back to their group. Proper alignment and form can be easily observed. This elevates the class experience from just exercising together to coaching and teaching a safe and effective workout.
Instructor cueing tips
Incorporate
Avoid
Internalize Before You Verbalize
Inferred Cueing
Determine what you want to say prior to telling your class what to do and prior to your move. Create your cue before you begin an exercise.
Mean what you say and say what you mean.
Example: You cue “knee lift right” and you do knee lift right and left; you have taught your class that when you say right; you mean right and left. The correct cue would be knee lift right and left.
Example: You cue “double step touch right” and you do double step touch right and left. The correct cue would be “double step touch right and left.”
Professional Terminology
Use of the Word “It”
Avoid slang, or language that may be offensive.
“lt” has no meaning or impact on your directions.
Example: Lift “it” up, squeeze “it”, push “it” forward. Instead, say “lift your arm,” “squeeze your legs,” “press your arms forward.” Simply replace the word “it” with a more meaningful word.
Limit Your Cues
Extra Dialogue
During choreography, use two or four words at a time. If you use more than four words, you may be asking your class to do too much at one time.
Fillers and extra info detract from your message.
Example: the name of step or movement.
Example: Come on, let’s, we’re gonna, okay now, when l tell you.
Vocal Tone & Pitch
Negative Words
Smile with your voice.
Negative cues require an explanation.
Example: Don’t lift your shoulders; instead, say “lower your shoulders.”
Protect your voice
The following tips can help protect your voice from potential vocal injuries (ACE 2017):
- When possible, use a microphone.
- Speak at a normal volume when using a microphone.
- Project from the diaphragm regardless if a microphone is used or not.
- Keep music volume at a level that does not require shouting over the music.
- Recommended music volume for group fitness is 85 – 90 decibels. A smartphone app such as a decibel meter can help you know if you are using a safe volume.
- Take small, frequent sips of water to keep your throat lubricated.
- If teaching in a large space or auditorium, practice precise verbal cues and use more visual cues.