In this lesson you will learn about the specific equipment used in SilverSneakers Classic and the benefits of using this equipment.
- Focus on how the SilverSneakers Classic tools benefit the target audience for this format.
- Think about how you can effectively incorporate this equipment into your SilverSneakers Classic choreography.
Using Equipment in SilverSneakers Classic
Every SilverSneakers Classic class incorporates movement using four basic tools:
- A SilverSneakers chair
- Elastic tubing with handles
- Hand-held weights
- A six- to nine-inch SilverSneakers ball
Instructor tip: Make sure enough chairs are available. A chair must be provided for each Classic participant.
Although instructors are required to design class segments utilizing the SilverSneakers chair and each of the three signature resistance tools, participants are not required to use the resistance tools. In addition to the exercises taught with our signature tools, instructors may teach and perform exercises during class without the aid of the tubing with handles, hand-held weights or SilverSneakers ball. For example, standing leg lifts performed near the chair, and balance or coordination drills are all exercises performed without the signature tools that could increase the function and fitness levels of SilverSneakers class members.
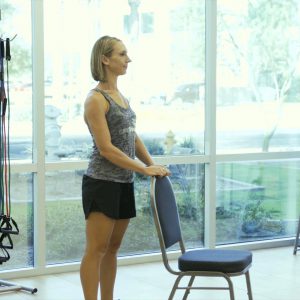
The SilverSneakers Chair
A chair is used in each Classic class to ensure stability and to provide postural support, to aid with stretching and to facilitate relaxation. SilverSneakers chairs are straight-backed, armless, steel-gauge chairs with non-contoured seats. Make sure there is a chair available for every class participant.
The availability of a chair in SilverSneakers Classic can increase participation, but Classic should not be considered a seated exercises class. Exercises can be performed from a seated or standing position. Instructors should design classes to “keep moving,” and teach in a continuous manner to improve cardiovascular and muscular endurance. The chair provides variety, giving every participant the opportunity to sit down during class, if necessary.
Instructors should take responsibility for managing class set up, to ensure safety and minimize the risk for tripping hazards. Chairs should be set up in rows, in a honeycomb fashion, making it easy for all participants to see the instructor at the front of class. A good guideline for optimum spacing between chairs is to provide approximately 4′ X 4′, or 16 square feet, for each member of class.
Instructor safety note: Arranging chairs in a circle is not recommended in SilverSneakers Classic.

A circle class set-up is not recommended for SilverSneakers classes. In this type of formation, many participants will experience the entire class with the neck in a sustained rotated position, which can put excessive stress on the muscles supporting the cervical and thoracic spine.
Instructor safety note:
Folding chairs elevate risk by decreasing stability and creating a trip hazard. The use of folding chairs is not acceptable for SilverSneakers classes.
Risk vs. benefit guidelines for the chair:
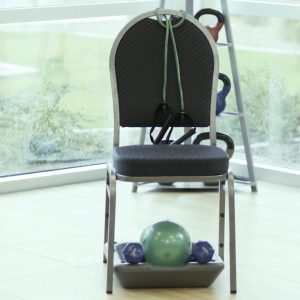
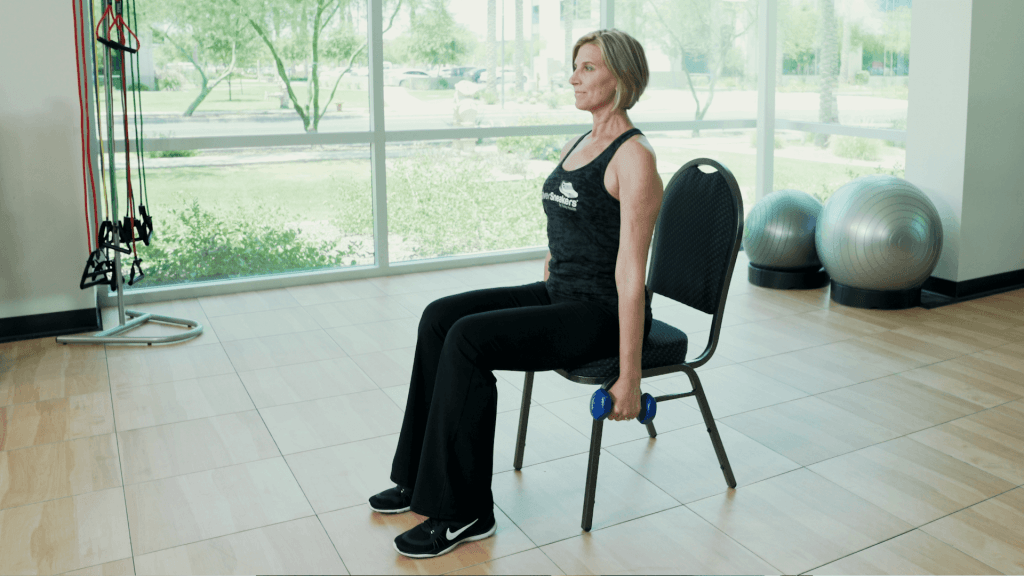
- In a Classic class, all equipment is stored underneath the chair in order to minimize trip hazards.
- Do not hook weights in the back or rear legs of the chair, as the weights could drop during class, causing a fall or injuring a class member. Additionally, be aware of the tubing handles throughout class, as it can create a tripping hazard.
- In order to retrieve water or resistance tools from under the chair, instructors should cue, “Step to the side and lean/reach to the side”. Place one foot to the side, bringing the opposite hand to the thigh for support while reaching to the outside of the leg, encouraging lateral spinal flexion. Following this procedure every time any object, tools or water is retrieved or set back under the chair plays a critical role in keeping each class participant’s back safe and as pain-free as possible.
- If participants are unable to reach under the chair, a second chair may be placed alongside the primary chair for equipment storage.

- When storing chairs, stack them safely and avoid stacking so high as to create an unsafe environment. If chairs must be stacked high for storage, please provide a staff member to un-stack chairs for class members during room set-up. If using chair dollies, do not stack chairs higher than you can reach or heavier than you can push.
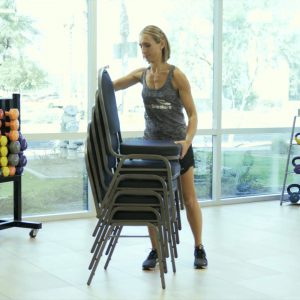
- When transitioning to a position behind the chair for standing work, ask participants to walk around to the back of the chair rather than move the chair and expose items on the floor.
- Taller participants may choose to stack two chairs for comfort. Make certain that the chairs are stable when stacked.
- A yoga block or step riser may be place under the feet of smaller participants as long as they remain seated and the prop does not create a trip hazard for this participant or other individuals in class.
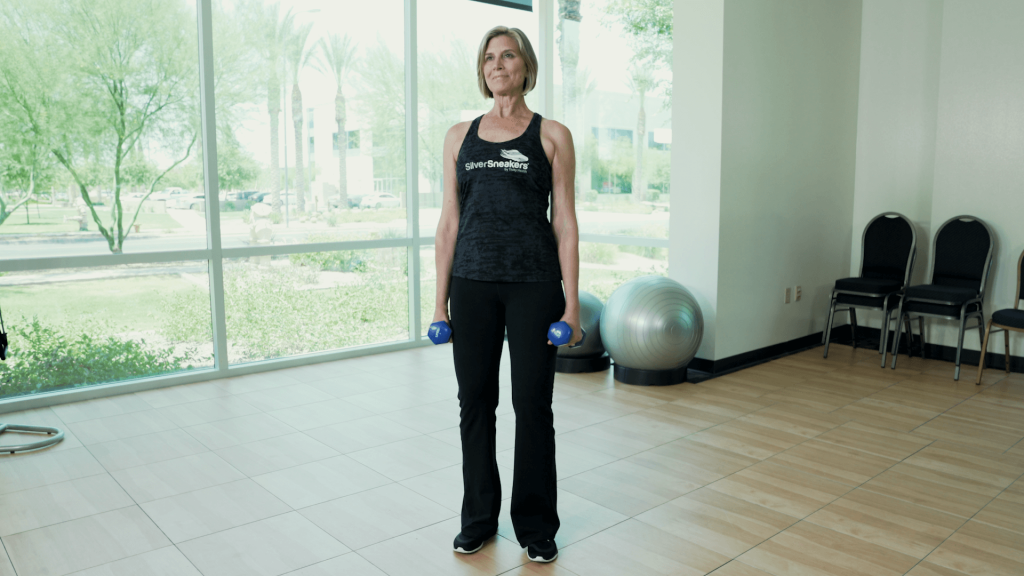
SilverSneakers Strength Position
The use of the SilverSneakers Strength Position during Classic class will encourage and reinforce good posture in your participants. This position, performed in a seated or standing position, helps students maintain proper form and minimizes risk.
The SilverSneakers Strength Position is characterized by the following when standing:
- Plant feet about hip-width distance apart during resistance training exercises for a wide and stable base of support.
- Maintain neutral spine when performing any movement during class. In neutral position, the spine is tall, and the abdominals are engaged and braced to support the low back.
- Avoid locking the knees, instead keeping them slightly bent.
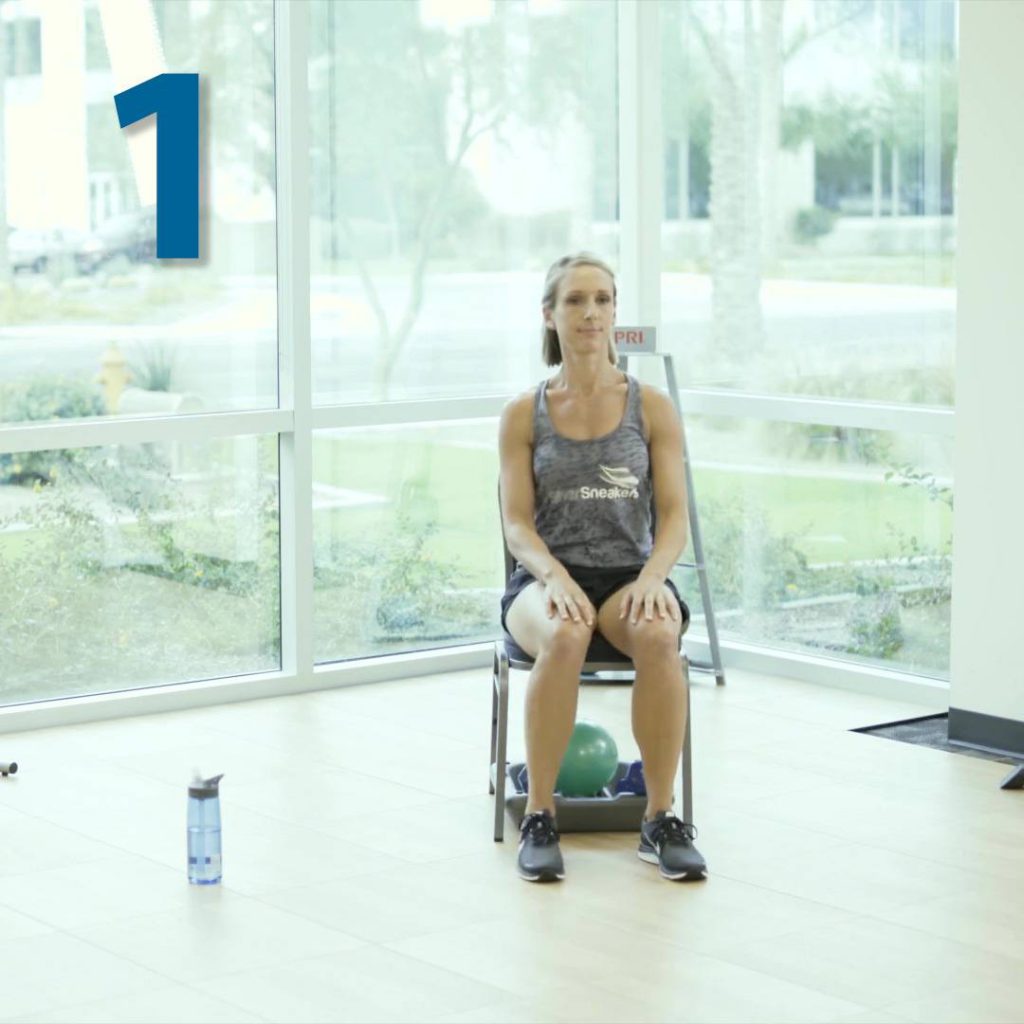
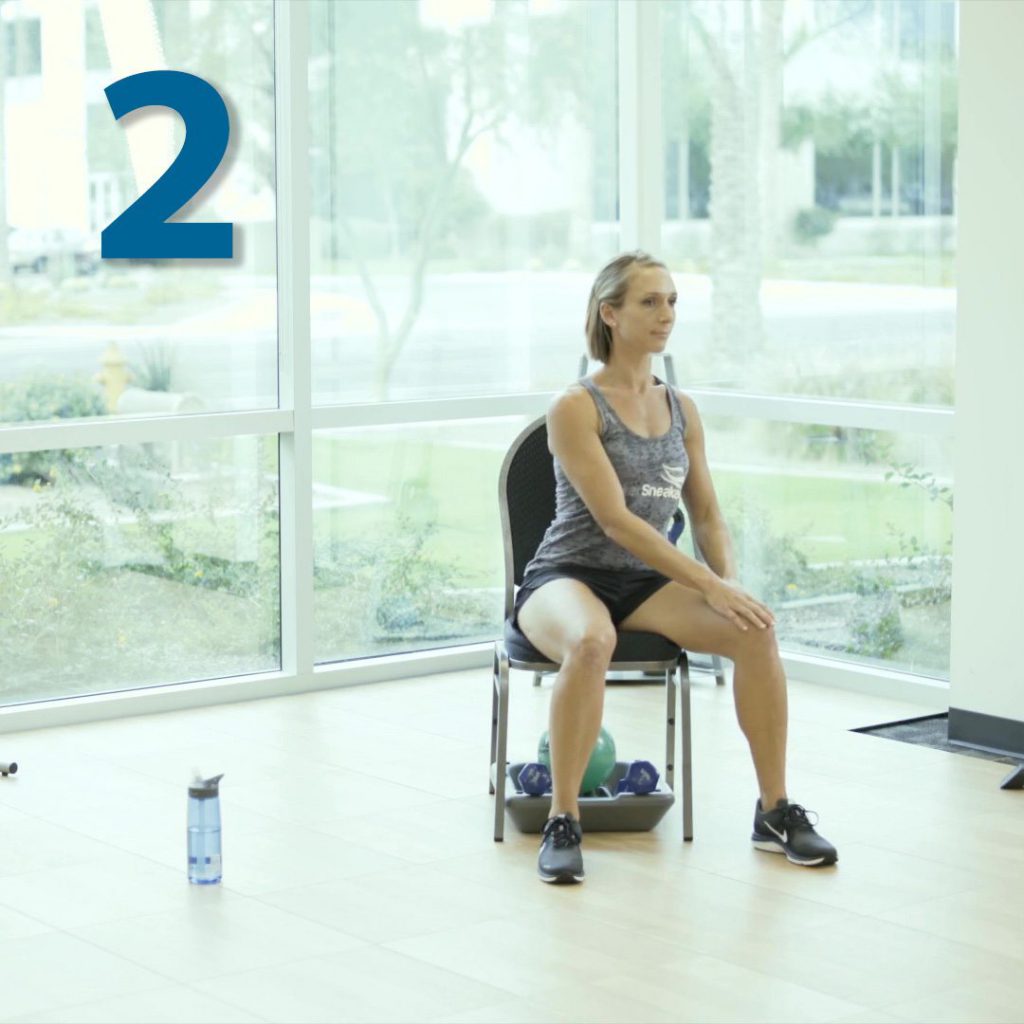
SilverSneakers Strength position while seated is demonstrated by:
- Both feet are firmly planted on the floor, while sitting forward in the chair to engage core and support the lower back.
- Maintaining neutral posture and alignment. Pay special attention to lengthening the spine, placing the ears over the shoulders, and the shoulders over the hips.